For the steering on my Celica, I decided to get rid of the heavy Saginaw type steering assembly and use something a little lighter. I got a steering rack from a Ford Festiva, which is very similar to Toyota, Hyundai, and several other manual units and only weighs 5 pounds! I had to make a cross member to mount the rack on, which bolted to the frame rails. At the point on the frame rail where the unit mounted, I reinforced with a plate of steel welded to the frame, which had threaded holes for mounting the steering rack.


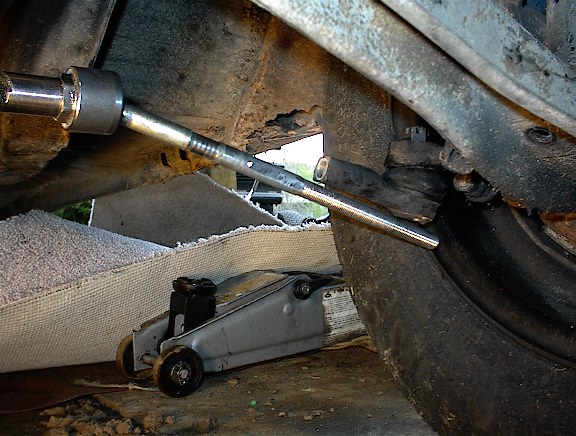
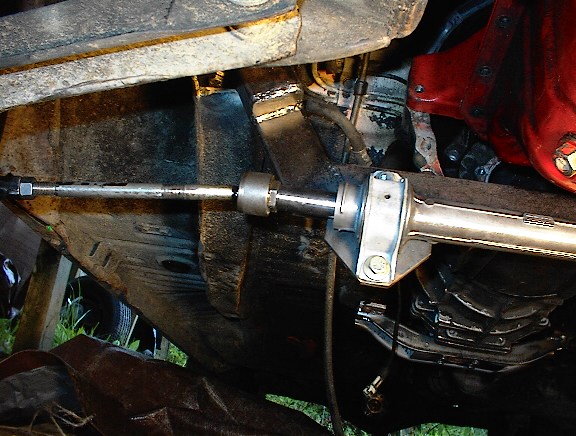
Once mounted in place, the lengths of the rod ends had to be measured and cut and new threads cut.
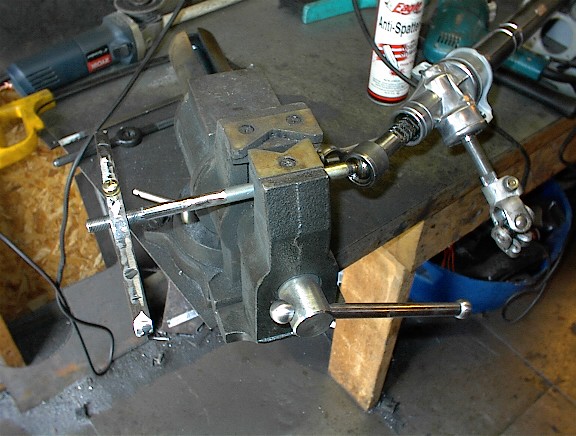


Remember to grind flats to fit an appropriatly sized wrench on each side of the arm so that you can adjust the length and tighten the set nut. Here, a 12mm wrench fits the arm flats and 14mm for the set nut.
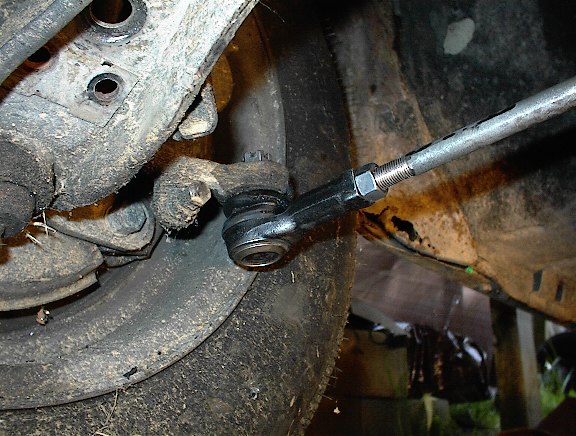
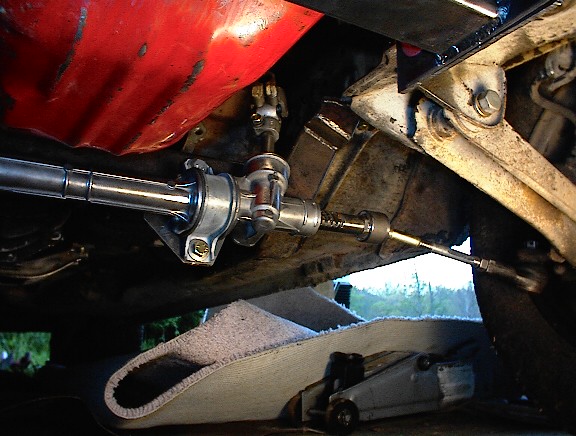
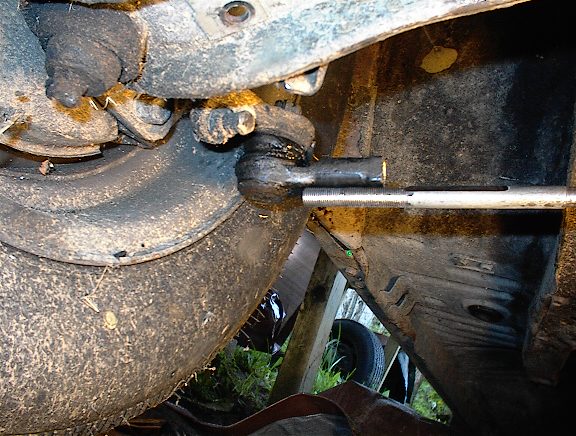
Notice that the steering rod end and the lower control arm are not parallel with each other. This will cause what is commonly known as "bump steer" which is what happens when they go up and down at different rates causing the wheel and tire to toe in and out making the car hard to control when you hit bumps. They HAVE to be near parallel (Google bump steer or steering geometry) to prevent this.
Back to Top
For God so loved the world, that he gave his only begotten Son, that whosoever believeth in him should not perish, but have everlasting life.
John 3:16
This site was built and is maintained by John B. Lunsford.
If you experience any difficulties or have any site specific questions or comments, please email me at Webmaster.
Please direct all other email to John@JBLMk3.com.


